

A natural gas Safety Data Sheet (SDS) is your go-to safety playbook. It's a document that spells out everything you need to know about the potential dangers of natural gas, how to handle it safely, and what to do if something goes wrong. Under OSHA regulations, it’s not just a good idea—it's the law.
What a Natural Gas SDS Is and Why It Matters
Think of a natural gas SDS as the user manual for one of the most common materials on any job site. It’s not just some piece of paper to be filed away to check a compliance box. This is the bedrock of your safety plan wherever natural gas is used. It translates technical chemical information into practical, actionable steps that anyone on the crew can follow.
The whole point is to clearly lay out the risks and the precautions you need to take. It ensures everyone, from the project manager to the new hire, has the information they need to work safely around this fuel. This document is a cornerstone of OSHA's Hazard Communication Standard (HCS), which requires employers to make this kind of hazard information easily accessible.
The Foundation of On-Site Safety
Without an SDS that’s easy to find and understand, workers are flying blind. How would they know what specific personal protective equipment (PPE) is needed? Or how to react to a leak? Or the early symptoms of overexposure? The SDS answers these critical questions, putting life-saving information right at your fingertips.
This infographic breaks down just how central the SDS is to keeping a job site safe.
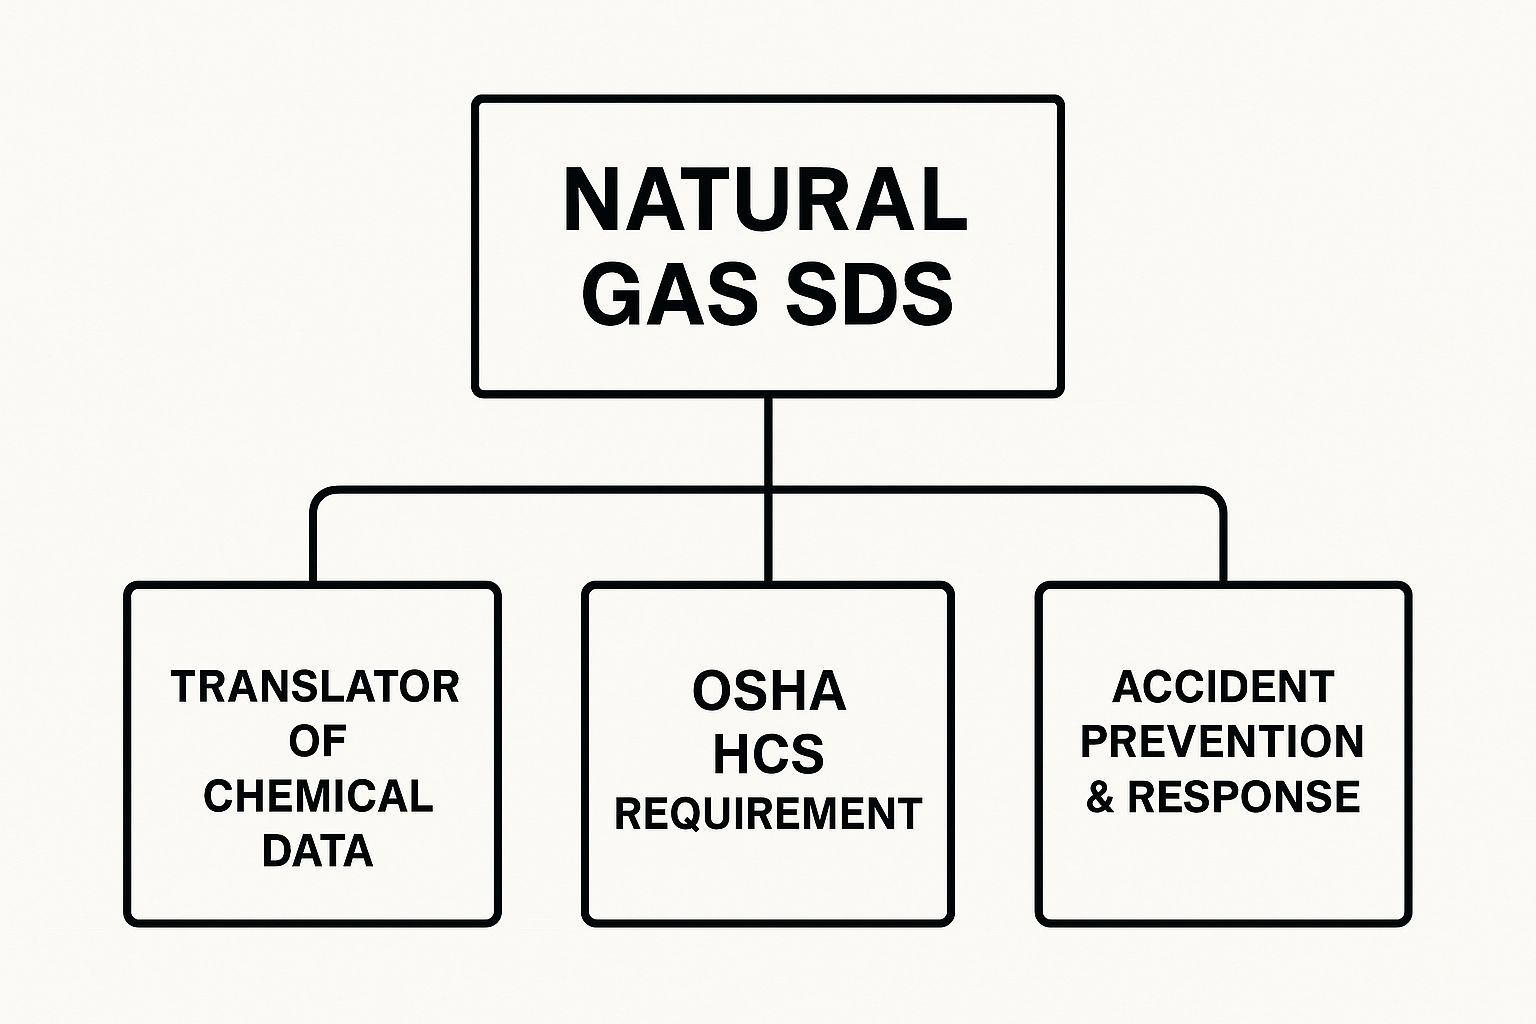
As you can see, the SDS isn't just one thing. It’s a translator for complex data, a key to meeting OSHA requirements, and the blueprint for both preventing incidents and responding to them effectively.
A Critical Tool in a Growing Industry
The need for a solid understanding of the SDS is only growing as natural gas becomes more widespread. The United States, for example, is using more of it than ever before. In January 2025, consumption hit a staggering 126.8 billion cubic feet per day (Bcf/d). With that much gas flowing through homes, businesses, and industrial sites, airtight safety protocols are non-negotiable. That makes the SDS more vital than ever. You can dive deeper into these trends by reading the full analysis of natural gas consumption records.
When used correctly, an SDS empowers your team to spot risks ahead of time, stop accidents before they start, and act decisively in an emergency. It helps shift safety from a reaction to an ingrained, proactive part of your culture.
At the end of the day, getting to know the natural gas SDS isn't just about ticking a regulatory box. It's about protecting yourself, your team, and the public by respecting the material you're working with and knowing exactly how to handle it.
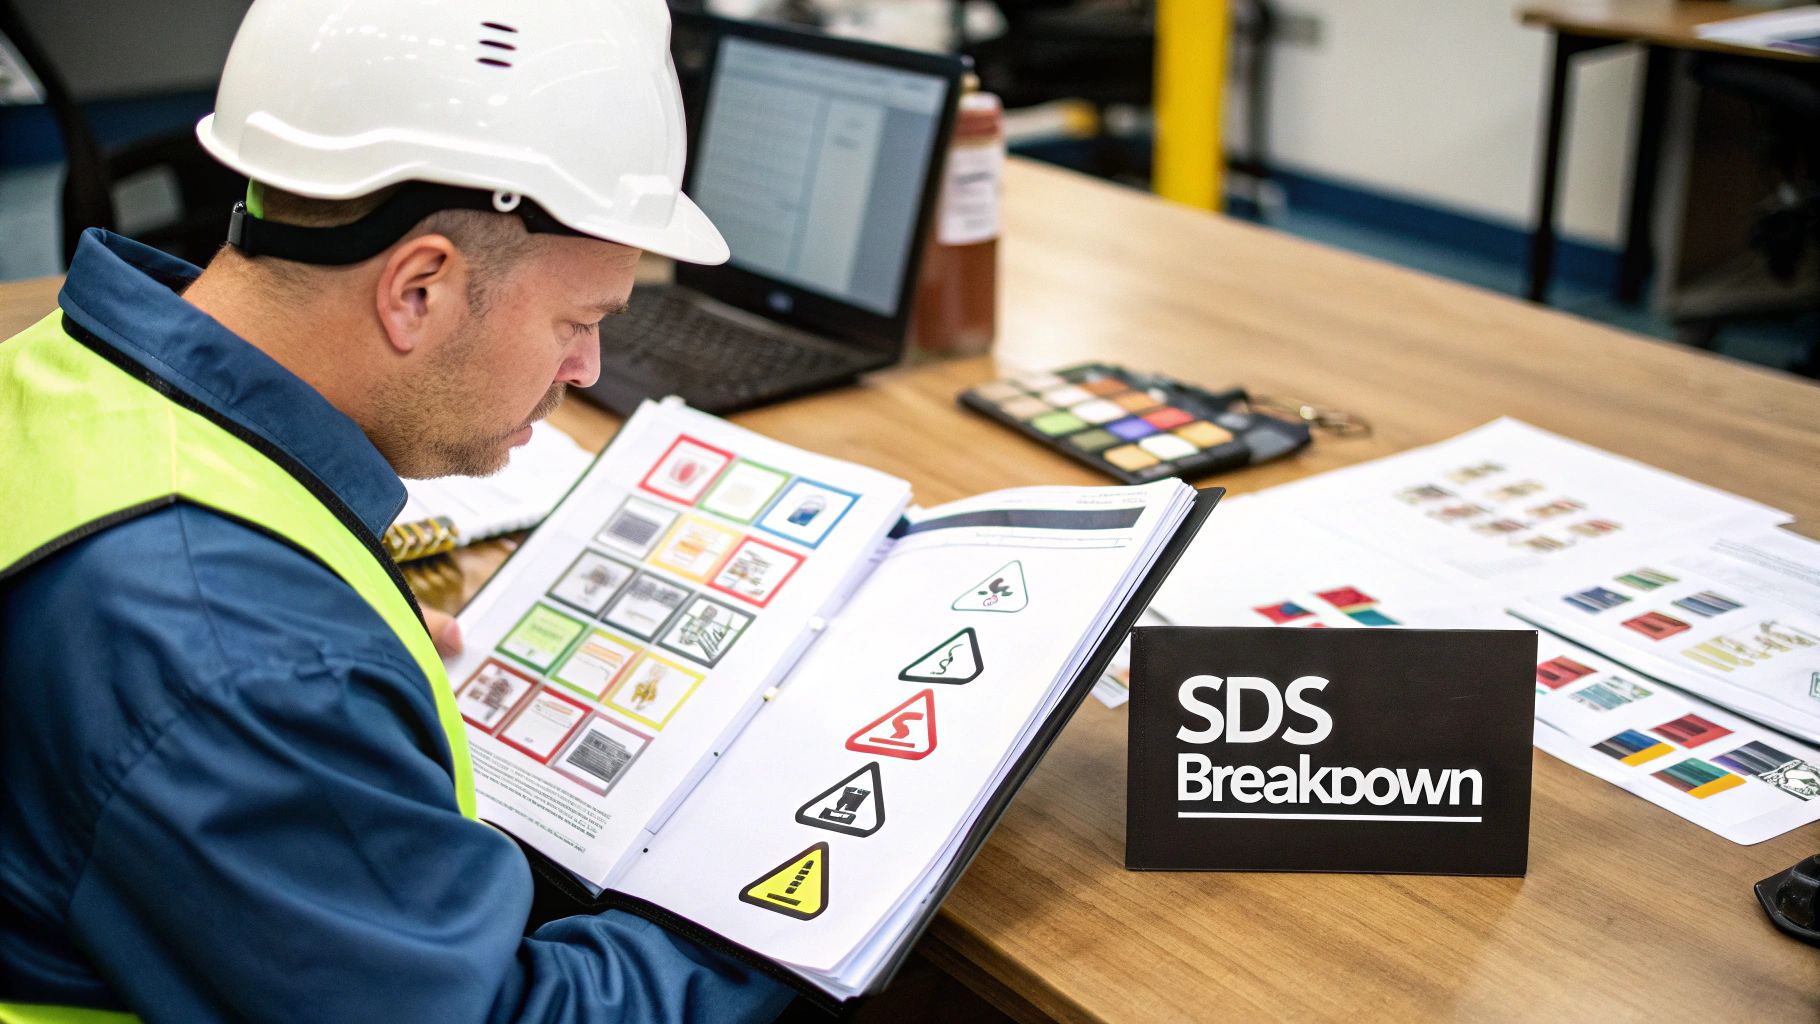
Decoding the 16 Sections of a Natural Gas SDS
A natural gas SDS can look intimidating at first glance, packed with technical jargon and data. But it's not meant to be read like a novel; it's a highly organized roadmap built for quick reference when every second counts.
The good news is that every SDS follows the same rigid, 16-section format mandated by OSHA. This consistency is your best friend on a busy job site, as the layout for natural gas will be the same as for any other chemical you encounter. Instead of getting bogged down in the details of each section, let’s break them into practical groups. Thinking of it this way helps you understand the story the SDS is telling: what the substance is, how it can hurt you, and what to do about it.
Group 1: The "Need-to-Know" Basics and Dangers
This first cluster of sections is all about immediate awareness. It’s the high-level summary that identifies the chemical and spells out its biggest threats in a clear, easy-to-scan format.
- Section 1: Identification – Think of this as the chemical's business card. It lists the product name (natural gas), who supplied it, and their contact information. It’s the first thing you check to make sure you’re looking at the right document.
- Section 2: Hazard Identification – This is arguably the most critical section for at-a-glance safety. It uses universal pictograms (like the flame symbol for flammability) and straightforward hazard statements like "Extremely flammable gas" to cut through the noise. It’s designed for instant understanding.
- Section 3: Composition/Information on Ingredients – Here’s where you see what natural gas is actually made of. It breaks down the components, which is primarily Methane (typically 85-95%), with smaller amounts of ethane and other hydrocarbons. You'll also find any additives listed, like the mercaptan that gives natural gas its signature "rotten egg" smell for leak detection.
Knowing the composition is crucial. Realizing natural gas is mostly methane helps you connect the dots on its specific hazards, like its ability to displace oxygen and act as a simple asphyxiant.
Group 2: The Emergency Playbook
When things go wrong, you don't have time to sift through a dense manual. This group of sections gives you clear, actionable steps for handling an emergency, from first aid for a coworker to containing a major leak.
- Section 4: First-Aid Measures – This part tells you exactly what to do if someone is exposed. It covers the different ways exposure can happen—inhalation, skin contact—and gives immediate instructions, such as moving a person to fresh air.
- Section 5: Fire-Fighting Measures – Since natural gas is highly flammable, this section is vital. It specifies which fire extinguishers to use (like dry chemical or CO2) and, just as importantly, what not to do.
- Section 6: Accidental Release Measures – This is your guide for a leak. It lays out the steps for containing the release, what PPE the response team needs, and how to safely evacuate the area.
Group 3: Proactive Safety and Protection
This next set of sections shifts the focus from reacting to emergencies to preventing them in the first place. This is your guide for daily operations, helping you build safety into your workflow. The kind of structured guidance found here is a foundational element in any strong safety culture. In fact, many of the principles for creating clear, actionable instructions are similar to those used when learning how to write a standard operating procedure.
- Section 7: Handling and Storage – This section is full of practical, everyday advice. It covers best practices like ensuring proper ventilation, keeping gas away from ignition sources like sparks or open flames, and grounding equipment to prevent static buildup.
- Section 8: Exposure Controls/Personal Protection – This is where the rubber meets the road. It translates technical data into the real-world Personal Protective Equipment (PPE) you need to wear. You’ll find specific recommendations for:
- Respiratory Protection: Guidance on when to use a respirator, especially in confined spaces.
- Eye Protection: Specifies safety glasses or goggles.
- Skin Protection: Suggests the right gloves and protective clothing for the job.
Group 4: The Technical Deep Dive
The final group contains the nitty-gritty scientific data. While it’s more technical, this information is the foundation upon which all the other safety advice is built. It’s what safety professionals, engineers, and first responders use for planning and advanced analysis.
- Section 9: Physical and Chemical Properties – Here you’ll find the hard data: the gas’s appearance (colorless), its flammability limits (the specific air-to-gas ratio for ignition), and its odor (thanks to the added odorant).
- Section 10: Stability and Reactivity – This section confirms natural gas is stable under normal conditions but also flags things to avoid, like contact with strong oxidizers.
- Section 11: Toxicological Information – This details the health effects of exposure. For natural gas, the primary concern is its role as a simple asphyxiant—it displaces oxygen and can quickly lead to dizziness, unconsciousness, and even death.
The last few sections cover the logistical and regulatory side of things, which are essential for compliance and management.
To help you find what you need even faster, here’s a quick-reference table that boils down the most critical sections for on-the-job use.
Quick Reference for Key Natural Gas SDS Sections
This table summarizes where to look for the most frequently needed information in a natural gas SDS.
| Section Number and Name | What It Tells You | Information to Find Here |
|---|---|---|
| Section 2: Hazard Identification | The biggest dangers at a glance. | Pictograms (flame, gas cylinder), signal words ("Danger"), and hazard statements. |
| Section 4: First-Aid Measures | What to do if someone is exposed. | Instructions for inhalation, skin/eye contact, and symptoms to watch for. |
| Section 6: Accidental Release Measures | How to respond to a leak. | Evacuation procedures, containment methods, and required PPE for responders. |
| Section 7: Handling and Storage | How to work with it safely every day. | Ventilation needs, conditions to avoid, and safe storage practices. |
| Section 8: Exposure Controls/PPE | What gear you need to wear to be safe. | Specific recommendations for respirators, eye protection, and gloves. |
| Section 11: Toxicological Information | How it can harm you. | Health effects of exposure, routes of entry, and symptoms of asphyxiation. |
| Section 16: Other Information | How current the document is. | The date the SDS was prepared or last updated. |
Knowing where this information lives is key. By understanding how the natural gas SDS is structured, you can stop seeing it as a long, complicated document and start using it as the powerful safety tool it’s meant to be—whether you're planning a job, grabbing your PPE, or responding to an emergency.
Understanding the Core Dangers: Flammability and Asphyxiation
A natural gas SDS is more than just a compliance document; it’s a playbook for handling a substance that demands respect. When you flip to Section 2 (Hazard Identification), you get the headlines. But the real story—the reason we have such strict procedures—boils down to two fundamental dangers: flammability and asphyxiation. These two risks are at the heart of every safety protocol on a job site involving natural gas.
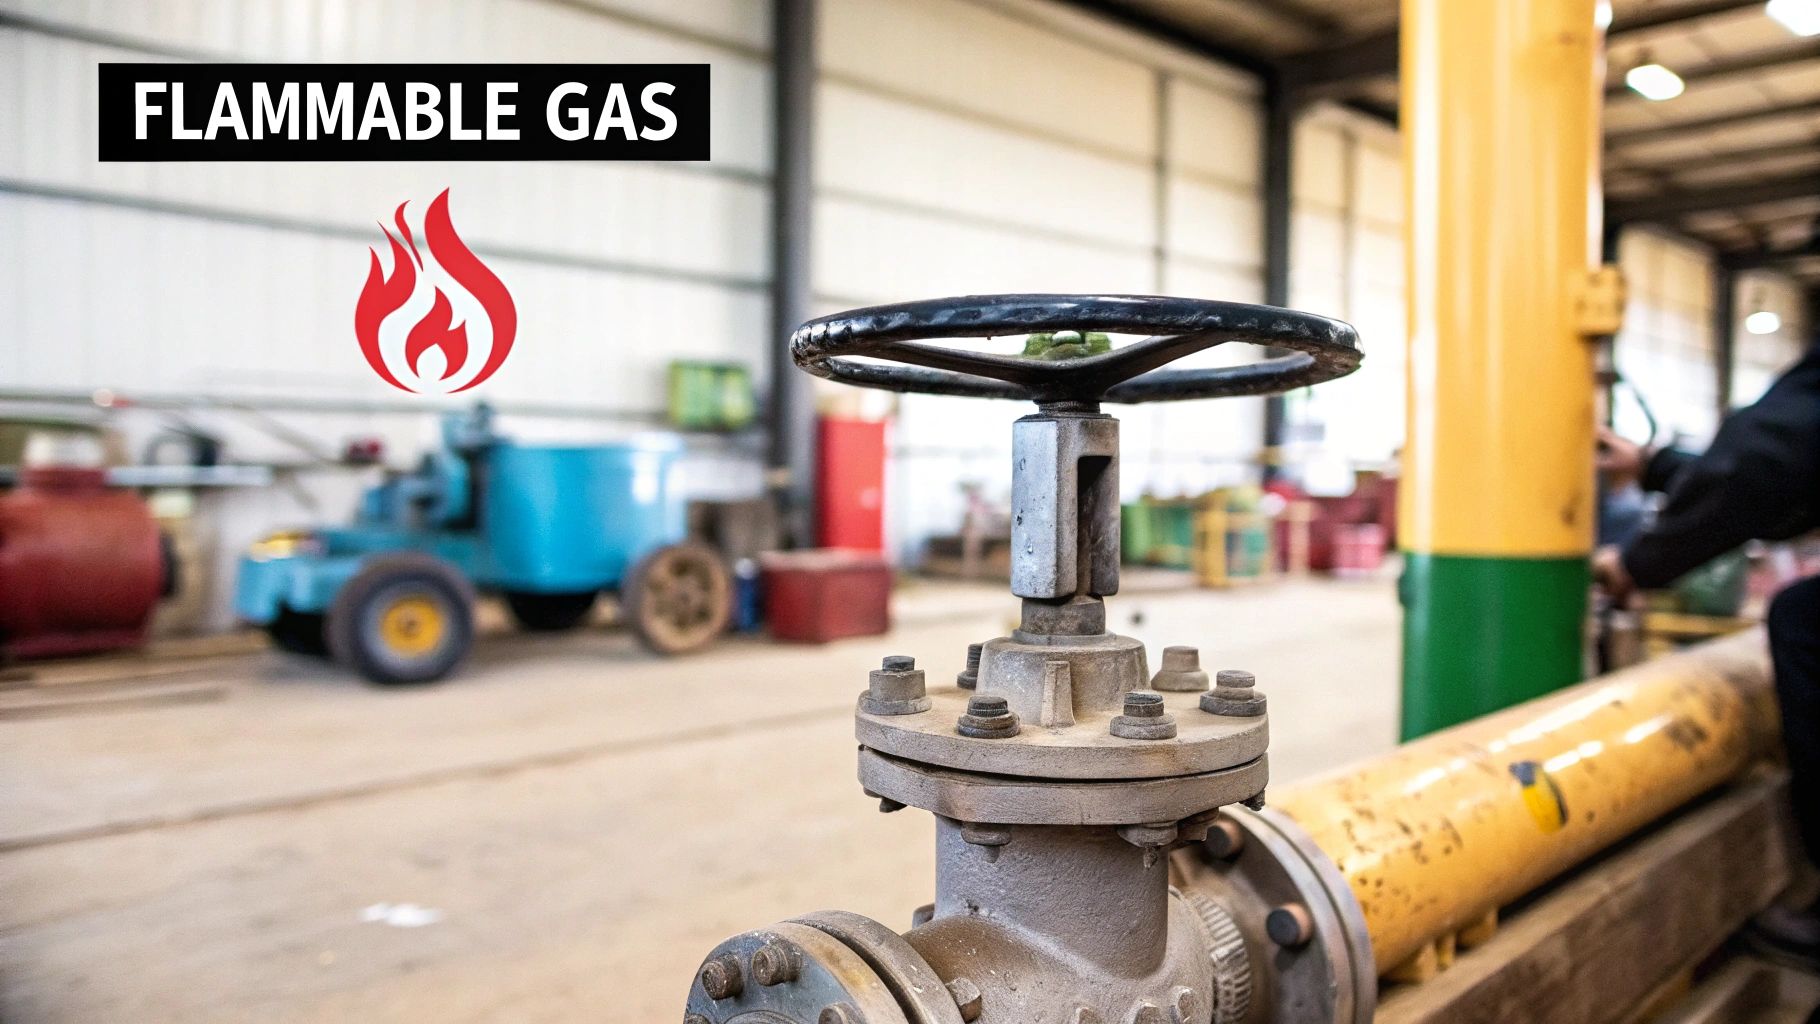
The most immediate danger, of course, is its explosive potential. Natural gas doesn't just burn; it's practically looking for a reason to ignite. The SDS spells this out in black and white, specifically in Section 9 (Physical and Chemical Properties), by defining its flammability range.
This isn't just a random number. It's the precise recipe for disaster. The range is set by two critical thresholds: the Lower Explosive Limit (LEL) and the Upper Explosive Limit (UEL). Think of them as the "not enough fuel" and "not enough air" boundaries for an explosion.
Decoding the Explosive Limits
The LEL and UEL tell you the exact percentage of gas in the air required to create an ignitable mixture. For natural gas, which is mostly methane, this window is surprisingly small, but that's what makes it so dangerous.
- Lower Explosive Limit (LEL): This is the bare minimum concentration of gas needed to catch fire. For methane, it's about 5%. Any less than that, and the mixture is too "lean" to ignite.
- Upper Explosive Limit (UEL): This is the maximum concentration that will ignite. For methane, that's roughly 15%. Go above that, and the mixture becomes too "rich"—there's not enough oxygen to support a flame.
So, the real "danger zone" is when the gas concentration is floating anywhere between 5% and 15%. A small leak in a poorly ventilated basement or utility closet can hit that sweet spot alarmingly fast. When it does, a simple spark from a power tool or even flipping a light switch can trigger a catastrophic event.
The SDS translates these abstract percentages into real-world action: control all ignition sources and ventilate, ventilate, ventilate. If you can keep the gas concentration safely below the 5% LEL, you’ve effectively defused the bomb.
The Silent Threat: Asphyxiation
While a fiery explosion is the most dramatic risk, the second hazard is far quieter and just as lethal. Natural gas is classified as a simple asphyxiant, a critical detail you'll find in both Section 2 and Section 11 (Toxicological Information) of the SDS.
A simple asphyxiant isn't a poison. It won't attack your body with toxins. Instead, it kills by simply taking up space.
Imagine pouring water into a glass. The water pushes the air out. Natural gas does the exact same thing in a confined area. As it silently fills a room, it displaces the oxygen you need to breathe.
The air we're breathing right now is about 21% oxygen. When a gas leak starts to reduce that percentage, the human body responds quickly and badly.
- At 19.5% Oxygen: This is OSHA’s line in the sand. Anything below this is officially an oxygen-deficient atmosphere.
- At 16% Oxygen: You'll start to feel it. Your judgment gets cloudy and your coordination goes.
- At 12% Oxygen: Dizziness, a racing heart, and nausea kick in.
- Below 10% Oxygen: Unconsciousness can occur in just a few minutes, with death soon to follow.
The scary part? Pure natural gas is colorless and odorless. Without the rotten-egg smell of mercaptan (the odorant added for safety), you could walk right into an oxygen-deprived space and be overcome before you even know something is wrong. This is exactly why that smell is so important and why air monitoring is non-negotiable in confined spaces.
Our global dependence on this fuel only magnifies the need for vigilance. In 2024, worldwide natural gas demand grew by 1.9%, hitting 4,122 billion cubic meters. As consumption rises, so does the number of people working with and around natural gas, making strict adherence to SDS protocols more critical than ever. To get a better sense of these trends, you can explore the 2025 Global Gas Report. By connecting the data on a natural gas SDS to these real-world numbers, it becomes crystal clear why every single precaution is a lifeline.
How to Use the SDS in Your Daily Work
A natural gas SDS isn't meant to gather dust in a binder. It’s a hands-on tool for managing risk right where the work happens, not just something to be filed away in the office. The real trick to building a strong safety culture is translating the technical jargon from that document into everyday habits.
Instead of thinking of it as a rulebook you only pull out when something goes wrong, treat it like a field guide. It has immediate, life-saving answers that should be a core part of every toolbox talk, job safety analysis, and daily plan. The goal is to make grabbing the SDS a reflex, not an afterthought.

Empowering Supervisors with Toolbox Talks
For supervisors, the natural gas SDS is your secret weapon for leading toolbox talks that actually stick. Forget generic safety reminders. You can use the SDS to ground your discussions in cold, hard facts and specific actions that connect directly to the tasks your crew is about to tackle.
A really effective toolbox talk can be built around just three key sections:
Section 8 (Exposure Controls/PPE): Before anyone starts work, hold up the required gear. Show the team the exact type of safety glasses, gloves, and respiratory protection mentioned. More importantly, explain why it’s needed by pointing to the specific hazards listed in the SDS.
Section 4 (First-Aid Measures): Don’t just say, “Be safe.” Ask pointed questions like, "What's our first move if someone starts feeling dizzy or lightheaded?" Walk them through the first-aid steps from the SDS, driving home the immediate need to get to fresh air.
Section 5 (Fire-Fighting Measures): Point out the fire extinguishers on site. Use the SDS to confirm they are the correct type (like dry chemical or CO2) for a natural gas fire. It's a simple check that reinforces preparedness.
By weaving specific SDS details into your daily huddles, you turn a compliance document into a practical script for staying safe. It shows your team that safety isn't just a rule, but a planned, understood, and shared responsibility.
A Frontline Worker's Quick-Reference Guide
If you're a frontline worker, the SDS is your personal safety cheat sheet. Think of it as the expert you can consult anytime to get a straight answer to those critical "what-if" questions. When seconds count, knowing where to look for quick information can make all the difference.
Here's how to use it as your go-to guide for common situations:
"I smell gas. What's the first thing I do?"
- SDS Answer: Section 6 (Accidental Release Measures) gives you the immediate playbook. It will tell you to kill all ignition sources, get everyone out of the area, and follow your site's emergency plan.
"What are the signs of oxygen deficiency?"
- SDS Answer: Section 11 (Toxicological Information) and Section 4 (First-Aid Measures) describe the symptoms of asphyxiation. You’re looking for dizziness, headache, nausea, and loss of coordination.
"Is it safe to use my phone near this work area?"
- SDS Answer: Section 7 (Handling and Storage) warns against ignition sources. Since a cell phone can create a spark, the answer is a hard "no" in any area where gas could be present.
It's easy to make this practical. Before you start a job involving natural gas, just take two minutes to scan the key hazards and emergency steps. That simple habit turns knowledge you have into awareness you use.
Integrating the SDS into Your Workflow
To truly make the SDS part of your daily operations, you have to go beyond just reading it. Use it to build simple checklists and response plans that are easy for everyone to follow.
Example Job Site Checklist:
Before Starting Work:
- Location of the nearest natural gas SDS is confirmed (digital or physical).
- Required PPE from Section 8 is on and inspected.
- All ignition sources are identified and controlled per Section 7.
- Location of the correct fire extinguisher from Section 5 is verified.
During Work:
- Air quality is being monitored in confined spaces.
- Team members know the symptoms to watch for from Section 11.
In Case of a Leak:
- Evacuation route is clear.
- Emergency contact numbers from Section 1 are posted and visible.
This approach brings the natural gas SDS to life. It stops being a compliance headache and becomes an essential tool that guides safe actions, prepares teams for emergencies, and ultimately protects every single person on the job site.
Staying Compliant with OSHA and GHS Standards
Knowing how to read a natural gas SDS is one thing, but making sure your company stays on the right side of the law is another. This isn't just about ticking boxes on a form. It's about following a clear framework designed by the Occupational Safety and Health Administration (OSHA) to keep your team safe, all laid out in their Hazard Communication Standard (HCS).
These American regulations don't exist in a vacuum. They sync up with the Globally Harmonized System of Classification and Labelling of Chemicals (GHS). You can think of the GHS as a common language for chemical safety. It’s the reason the hazard symbols and information layout on a natural gas SDS look the same whether you’re in Virginia or Vietnam, which helps everyone stay on the same page.
The Golden Rule: Ready Accessibility
When it comes to the natural gas SDS, OSHA has one core rule that trumps all others: it must be "readily accessible" to every single employee during their work shift. That phrase might sound simple, but it’s where many companies get tripped up and end up with serious citations.
"Readily accessible" means exactly what it sounds like—no locked cabinets, no passwords, no having to hunt down a supervisor. When a worker needs that information, especially in an emergency, they have to be able to get it immediately.
- Physical Binders: The classic three-ring binder still works perfectly. As long as it’s clearly labeled and kept in a central, unlocked spot like a control room or break area, you're good to go. It’s simple, direct, and foolproof.
- Digital Systems: Going digital is also a great option, but it comes with a major string attached. Your team must know how to use the software, and you absolutely must have a backup plan for when things go wrong, like a power outage or network failure. A blank screen doesn't count as "readily accessible."
A classic mistake that will get you fined is keeping the only SDS binder locked in the foreman’s office. If your crew has to ask for permission to view an SDS, your program is not compliant. Period.
More Than Just a Document: The Need for Real Training
Just making the SDS available isn't enough to satisfy OSHA. You are also required to train your workers on how to actually use it. They need to understand what the different sections mean, where to find life-saving information in a hurry, and how it all applies to the specific tasks they perform every day.
This is the step that connects the dots between a compliance document and real-world safety. Good training makes sure your team doesn't just know where to find the SDS, but knows how to use it as a tool to keep themselves and their coworkers safe.
It turns the natural gas SDS from a piece of paper into a practical guide for preventing accidents. And with global demand for natural gas on the rise—consumption jumped by 2.9% in 2024, with the U.S. leading the pack—having a properly trained team is more crucial than ever. You can dig deeper into these market trends in the latest Cedigaz market analysis. Ultimately, a strong hazard communication program isn't just about avoiding fines; it’s about building a culture where everyone feels equipped to work safely.
Got Questions About Natural Gas Safety Sheets? We’ve Got Answers.
Even after you get the hang of reading a natural gas SDS, some practical questions always seem to pop up on the job. Let's walk through some of the most common ones I hear from crews and supervisors alike. Getting these details straight is key to using the SDS effectively and, more importantly, keeping everyone safe.
Where Can I Find the Official Natural Gas SDS for My Site?
This is a big one. Your employer is legally required by OSHA to have the Safety Data Sheet for the specific natural gas used on your site easily accessible to you. It’s not a scavenger hunt—you should know exactly where to find it.
Your first stop should be the designated safety binder, which is usually kept in a common spot like a site trailer, control room, or break area. A lot of companies have gone digital, so the SDS might be in an online database. If that's the case, your supervisor should have given you the login info. If you can't find it in either of those places, you need to talk to your safety manager right away.
The key phrase OSHA uses is "readily accessible." This means you have to be able to get your hands on it quickly during your shift, no questions asked. It can't be locked away in an office you don't have a key for or stuck behind a password you don't know.
What’s the Difference Between an SDS and an MSDS?
Ah, the old SDS vs. MSDS question. It’s a common point of confusion, but the answer is pretty simple. The SDS (Safety Data Sheet) is the new, global standard that replaced the older MSDS (Material Safety Data Sheet). The switch was officially made in the U.S. back in 2015.
The single biggest improvement was standardization.
- SDS: Has a strict, mandatory 16-section format. This is a game-changer because you always know where to look for specific information, no matter who made the chemical. Section 8 will always be exposure controls, Section 5 will always be fire-fighting measures, and so on.
- MSDS: Had no required format. The manufacturer could organize it however they wanted, which often made finding critical data a nightmare, especially during an emergency.
The SDS also brought in the hazard pictograms and standardized warning phrases you see today. It created a universal language for chemical safety that the old, inconsistent MSDS system just didn't have. So, if you hear someone still talking about an "MSDS," just know they’re referring to the modern SDS.
In a Gas Leak Emergency, What’s the Very First Thing I Should Do?
Your safety comes first. Always. The SDS lays out the immediate actions you need to take to prevent a small problem from turning into a disaster.
- Get Out Immediately: If you smell gas or even just suspect a leak, don't hesitate. Leave the area right away and make sure you move upwind from where you think the leak is.
- Kill All Ignition Sources: This is critical. Don't flip a light switch, use your phone, or start a vehicle. Any little spark could ignite a gas cloud.
- Report It and Follow the Plan: As soon as you're in a safe spot, notify your supervisor and follow your site's emergency response plan to the letter.
These life-saving steps are detailed in the SDS. You’ll find specific guidance in Section 4 (First-Aid), Section 5 (Fire-Fighting), and Section 6 (Accidental Release Measures). The best time to read those sections is now, not when you’re in the middle of an incident.
Does Natural Gas Expire? Is That on the SDS?
Nope, natural gas doesn't have a shelf life, so you won't find an expiration date on its SDS. It's a very stable mix of gases, mostly methane, and it doesn't break down or go bad over time. Section 10 (Stability and Reactivity) of the SDS will confirm this.
But here’s the important part: the SDS document itself needs to be current. Manufacturers are required to update an SDS within three months of learning about any significant new hazard information. It’s your employer’s job to get that latest version and make sure you have it. Always glance at the revision date in Section 16 to be sure you’re working with the most up-to-date information.
Facing a delay in your natural gas line installation or need a temporary gas supply during maintenance? Don't let your project grind to a halt. Blue Gas Express provides reliable, mobile CNG and LNG solutions to keep your operations running smoothly. We deliver fast, scalable gas units directly to your site across the Carolinas, Tennessee, and Virginia.