

When it comes to stopping pipes from freezing, everything boils down to three simple things: insulation, heat, and water flow. A sudden cold snap means you have to act fast, especially for those pipes tucked away in unheated areas like basements, attics, and crawl spaces. Those are the ones that burst first.
Why Your Pipes Freeze and What to Do Right Now
It's a basic science lesson, really. As water freezes into ice, it expands. That expansion creates a tremendous amount of pressure inside a pipe—enough to split steel. The pipes most at risk are always the ones exposed to the cold, like those running along an outside wall or through a chilly garage.
Knowing this, your game plan is simple: don't let the water in the pipe hit its freezing point. You can either shield it from the cold or keep the water moving.
Immediate Defensive Actions
When an arctic blast shows up with little warning, you don't have time for a full-scale plumbing project. These quick fixes can get you through the worst of it.
Open Cabinet Doors: This is the easiest trick in the book. Swing open the doors to the cabinets under your kitchen and bathroom sinks. It lets the warmer air from your home circulate around the plumbing, fighting off the chill.
Let Faucets Drip: Moving water is much harder to freeze. A slow, consistent drip from a faucet is often all it takes to prevent a catastrophe. We’re not talking a full stream—just a steady trickle is enough to relieve pressure and keep things flowing.
This image lays out the basic steps for protecting your pipes when temperatures drop.
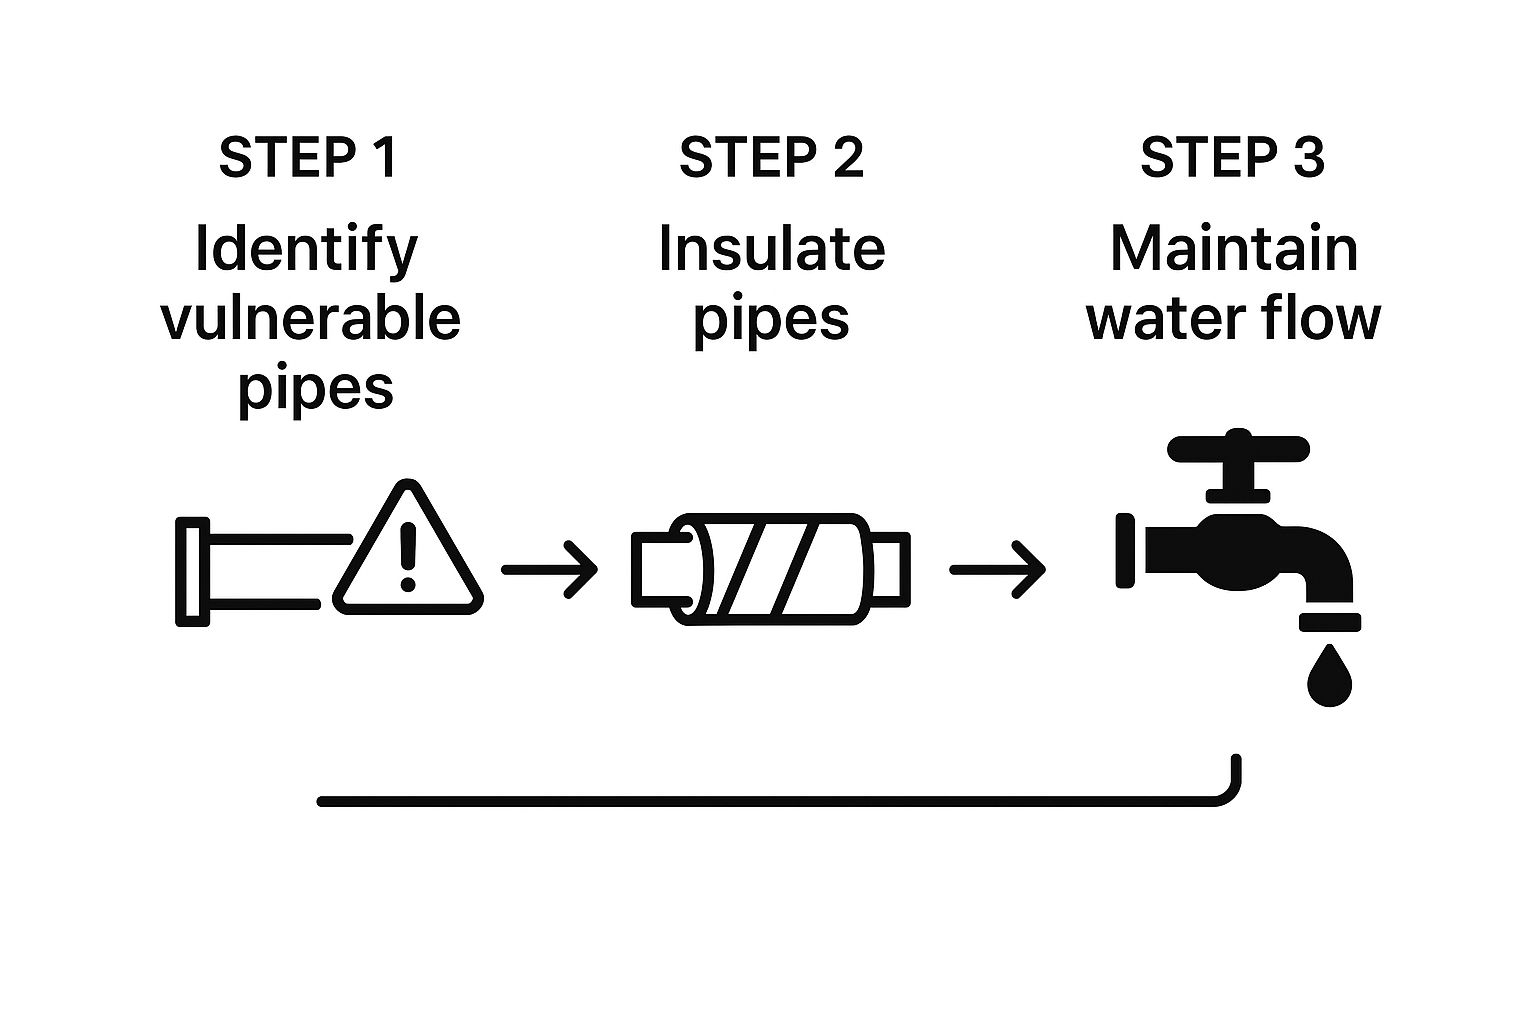
As the graphic shows, finding the vulnerable pipes is the first hurdle. After that, it's all about keeping them warm and keeping the water inside them moving.
The real danger starts when the mercury dips below 20°F (-6.7°C) and stays there. I’ve seen countless property damage claims from freezes, and they almost always happen when the temperature hovers in that zone for six hours or more.
A critical first line of defense is simply keeping your thermostat set no lower than 55°F (~13°C), even if you're away. That baseline warmth is crucial, especially in older buildings with less-than-perfect insulation. You can dig into some fascinating freeze-up prevention and claim data by reviewing reports from insurance institutes.
When a freeze is imminent and you need a quick plan, this table covers the essentials.
Immediate Actions for a Sudden Freeze
| Action | Why It Works | Best For |
|---|---|---|
| Drip Faucets | Moving water resists freezing and relieves pressure buildup inside the pipes. | Pipes on exterior walls, in unheated basements, or under sinks. |
| Open Cabinets | Allows warmer, ambient air from the living space to circulate around the plumbing. | Kitchen and bathroom sinks, especially those on outside walls. |
| Keep Thermostat Up | Maintains a baseline level of heat throughout the building, preventing deep freezes. | Whole-home protection, especially when you're away from the property. |
These small, immediate steps are your best defense against the sudden, expensive, and messy problem of a burst pipe.
Your Practical Guide to Pipe Insulation
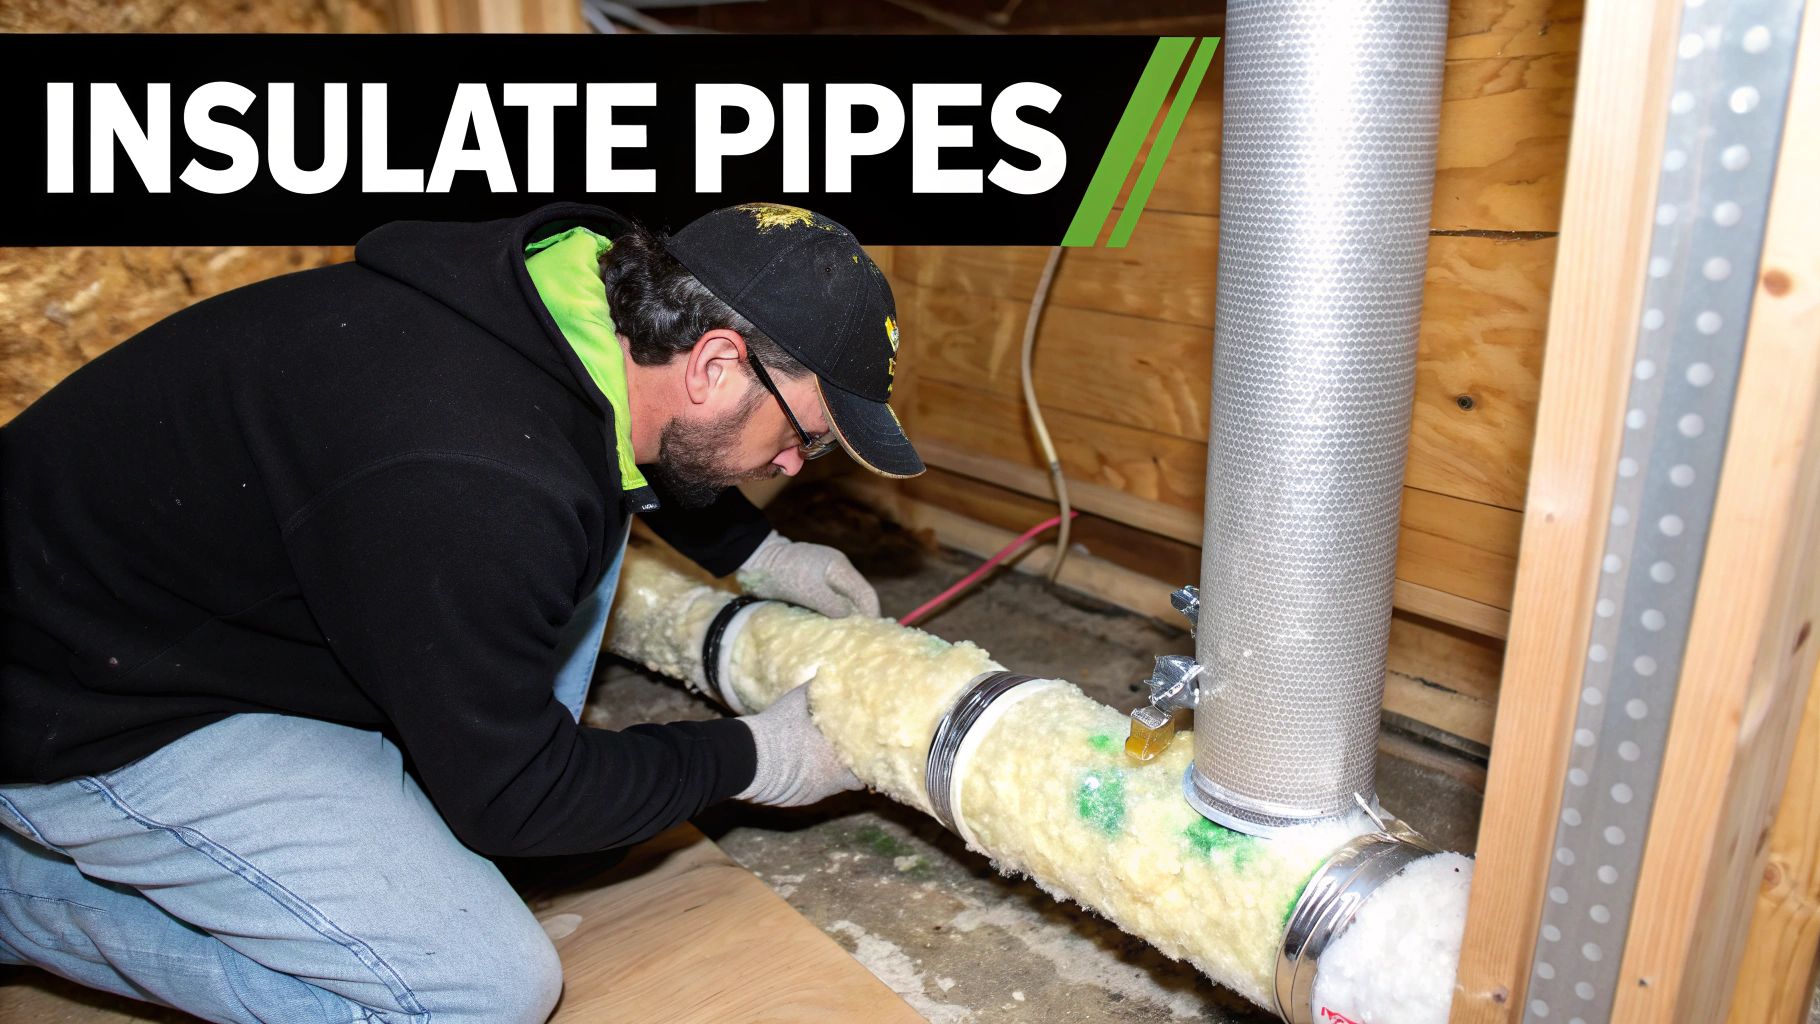
When you're trying to figure out how to prevent pipes from freezing, insulation is your first and best line of defense. Think of it as a winter coat for your plumbing. It's designed to slow down heat loss, which is especially critical in those unheated areas like crawl spaces, basements, and garages where cold air settles.
Essentially, insulation buys your pipes precious time against the dropping temperatures.
But it's important to be realistic—insulation isn't a silver bullet. While it's the most common method for freeze prevention, it has its limits when the temperature really nosedives. Materials like foam or fiberglass are fantastic at reducing heat loss, but they can't generate heat. If water sits stagnant in a pipe for long enough in sub-zero conditions, it will eventually freeze, insulation or not. You can get more details on freeze protection strategies from industry experts.
This is why choosing the right material and installing it correctly is so critical. It makes all the difference.
Choosing the Right Insulation
Walk into any hardware store and you'll see that not all pipe insulation is created equal. The two main players you'll encounter are foam sleeves and fiberglass wraps, and knowing when to use each is key.
Foam Sleeves: These are pre-slit tubes that are incredibly easy to work with. They just slip right over straight sections of pipe, making them perfect for DIYers. They work great on both copper and PVC, but the trick is to get the exact diameter for a snug, secure fit.
Fiberglass Wraps: This is your go-to for the tricky spots—pipes with a lot of bends, joints, and other awkward angles where a rigid foam sleeve just won't cut it. It’s much more flexible but does take a bit more patience to get a good, even wrap.
For most residential projects, I find that foam sleeves offer the best combination of ease and effectiveness. They give you consistent, reliable coverage on those long, exposed pipe runs that are the most vulnerable to freezing.
A common mistake I see is people compressing insulation too tightly, especially fiberglass. When you crush it, you’re squeezing out the tiny air pockets that provide the actual insulating power. The material becomes dense and loses a huge amount of its protective R-value.
Installation That Actually Works
Getting the full benefit from your insulation all comes down to the installation. You have to be meticulous here, because even small gaps can create cold spots that completely defeat the purpose and lead to a freeze.
Before you start, make sure the pipe is clean and totally dry. If you're using foam sleeves, slide them on and then seal the slit securely with its built-in adhesive or some good quality electrical tape. Never leave any gaps, particularly at corners or joints. I always recommend using miter cuts to create clean, tight connections.
If you’re working with fiberglass, wrap it snugly—but not tightly—around the pipe, making sure to overlap the edges slightly as you go. Secure the wrap with tape every foot or so to keep it from unraveling. Your goal is simple: complete and continuous coverage.
Using a Slow Drip to Prevent a Big Mess
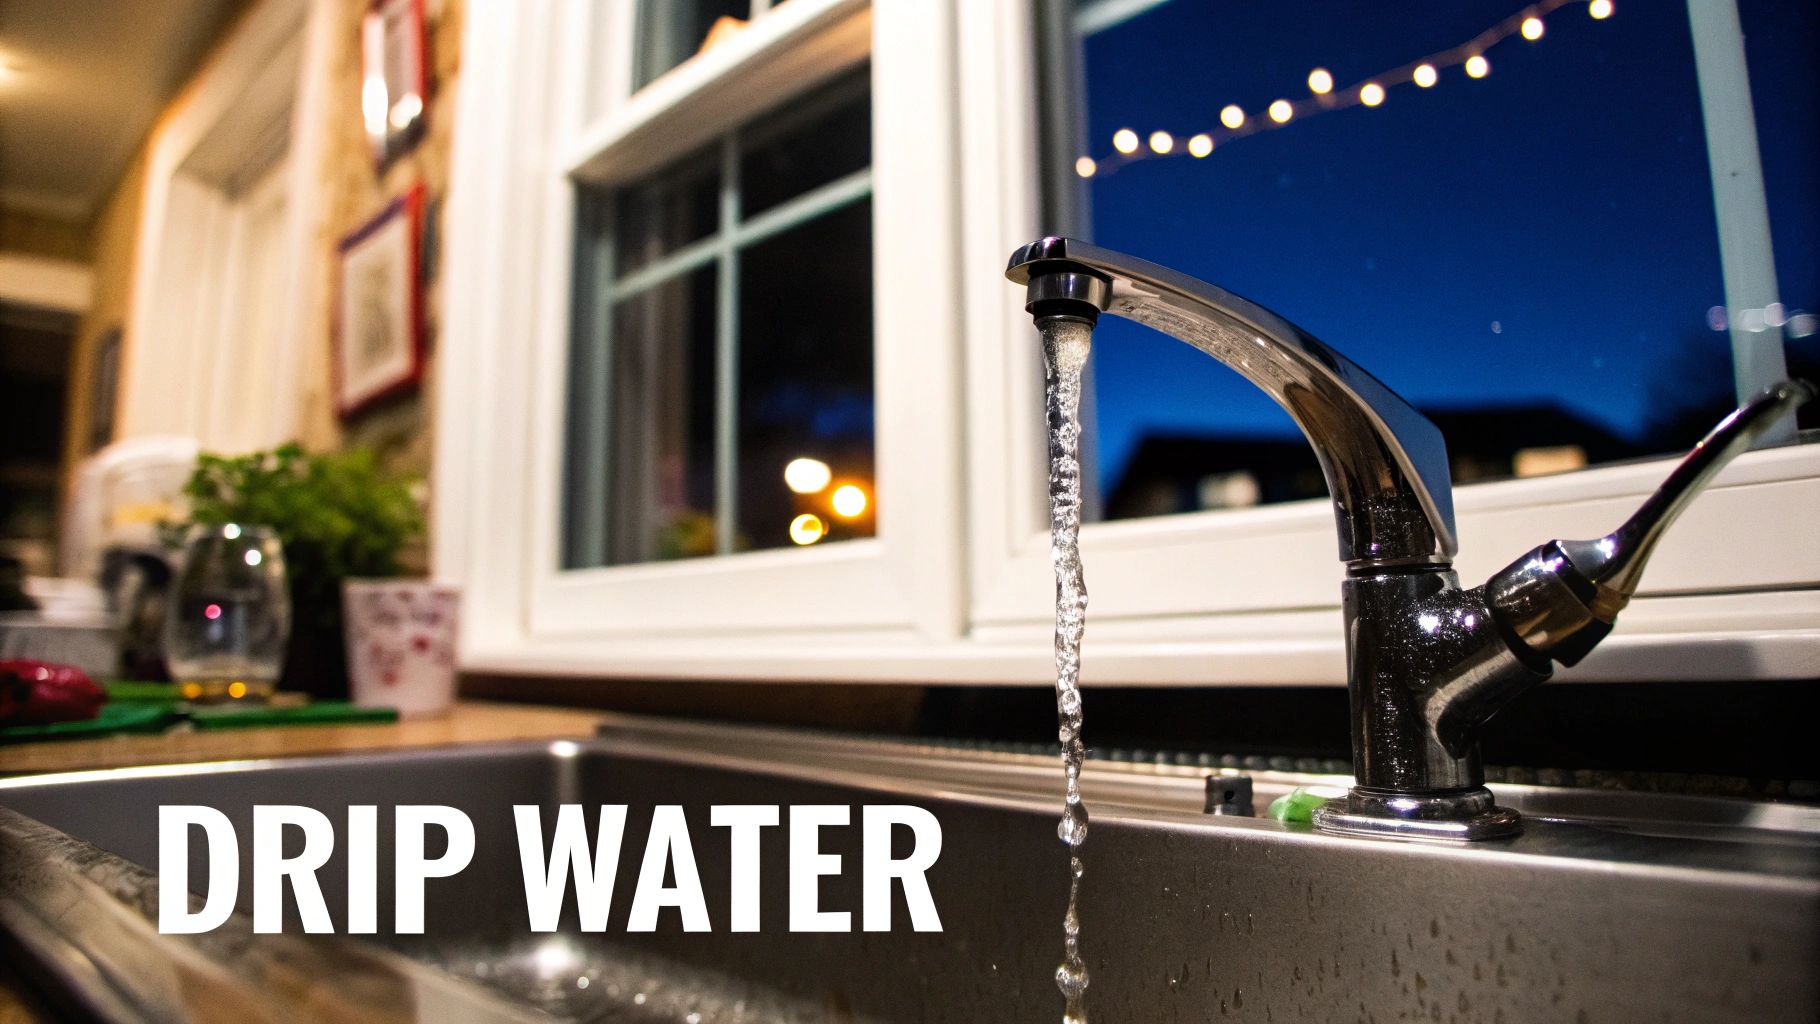
It’s one of the oldest tricks in the book, and for good reason—it works. The principle is simple: moving water has a much harder time freezing. When water sits still in a pipe, its molecules can easily line up and form ice crystals. A slow, steady drip keeps that from happening.
Think of it as cheap insurance during a sudden, nasty cold snap. It’s particularly effective for homes with known problem areas, like those pipes running through exterior walls or unheated crawl spaces. This isn't about wasting water; it's a smart, strategic move to prevent a burst pipe and the catastrophic mess that follows.
How to Drip Your Faucets the Right Way
You're not aiming for a steady stream, which is just wasteful. All you need is a slow, consistent drip—about 5-10 drops per minute is the sweet spot. That tiny bit of flow is surprisingly effective at relieving the intense pressure that builds up inside a pipe when ice starts to form.
To get the most out of this technique, a little strategy goes a long way:
- Pick the right faucets. Start with the faucet that’s furthest away from where the water main enters your house. This simple choice pulls water through the longest stretch of your plumbing system.
- Let both hot and cold drip. If you have separate handles for hot and cold, open both just enough to get a small drip going. Hot and cold water lines are often run side-by-side, making them equally vulnerable to freezing.
This simple action does more than just keep water moving. It acts as a safety valve, releasing pressure that would otherwise build between the faucet and a potential ice blockage, which is the primary cause of a burst pipe.
Don't just take my word for it. Research actually backs this up, showing that even a minimal flow is a huge factor in preventing frozen pipes, even in sub-zero temperatures. Studies have even pinpointed the ideal balance between flow rate and the surrounding temperature to stop PVC pipes from freezing while using as little water as possible. You can dig into the science behind these findings on flow rates and freeze prevention if you're curious.
Beyond Quick Fixes: Long-Term Solutions for Lasting Peace of Mind
If you're tired of that familiar knot of anxiety every time the forecast calls for a deep freeze, it's probably time to think beyond the temporary measures. Let's talk about the more permanent, set-it-and-forget-it strategies that will keep your pipes safe season after season.
While leaving a faucet dripping has its place, a truly robust approach means you won’t have to worry at all. Investing in these solutions upfront can save you a world of stress—and a ton of money—down the road.
One of the best long-term weapons in the fight against frozen pipes is self-regulating heat cable. This isn't the old-fashioned heat tape you might remember, which just stayed on at one temperature. This stuff is smart. It actually senses the pipe's temperature and adjusts its heat output accordingly, delivering more warmth to the coldest spots and easing off elsewhere.
I've seen these cables work wonders on those chronically cold pipes you find in drafty crawl spaces, unheated attics, or running along that one notoriously cold north-facing wall. They provide consistent, targeted heat right where you need it, stopping ice from ever getting a chance to form.
Upgrading Your Infrastructure and Tech
If you've got a renovation on the horizon, you have a golden opportunity to solve pipe-freezing problems for good. For instance, if you have water lines running along an exterior wall, talk to your plumber about rerouting them.
It's a bigger job, no doubt, but moving those pipes to an interior wall completely removes them from the front lines of the cold war. It's an investment that pays dividends in peace of mind for decades to come.
You can also bring some modern tech into the mix with a smart home water monitor. These devices are fantastic. They clamp onto your main water line and can detect all sorts of issues, including the tell-tale drop in water temperature that happens right before a freeze.
I've seen these systems save homes. A good sensor will detect when the temperature near a pipe dips to a critical point—say, below 36°F (2.2°C)—and ping your phone with an alert. That early warning gives you the crucial time you need to act before you're dealing with a burst pipe and a flood.
These monitors really change the game, moving freeze prevention from guesswork to a data-driven science. You'll always be a step ahead of the weather.
Simple, Proactive Home Improvements
Sometimes the most effective solutions are the simplest. It's all about beefing up your home's "envelope"—that thermal barrier separating your cozy living space from the frigid outdoors.
Take a walk around your property and look for vulnerabilities. You'd be surprised what you can find.
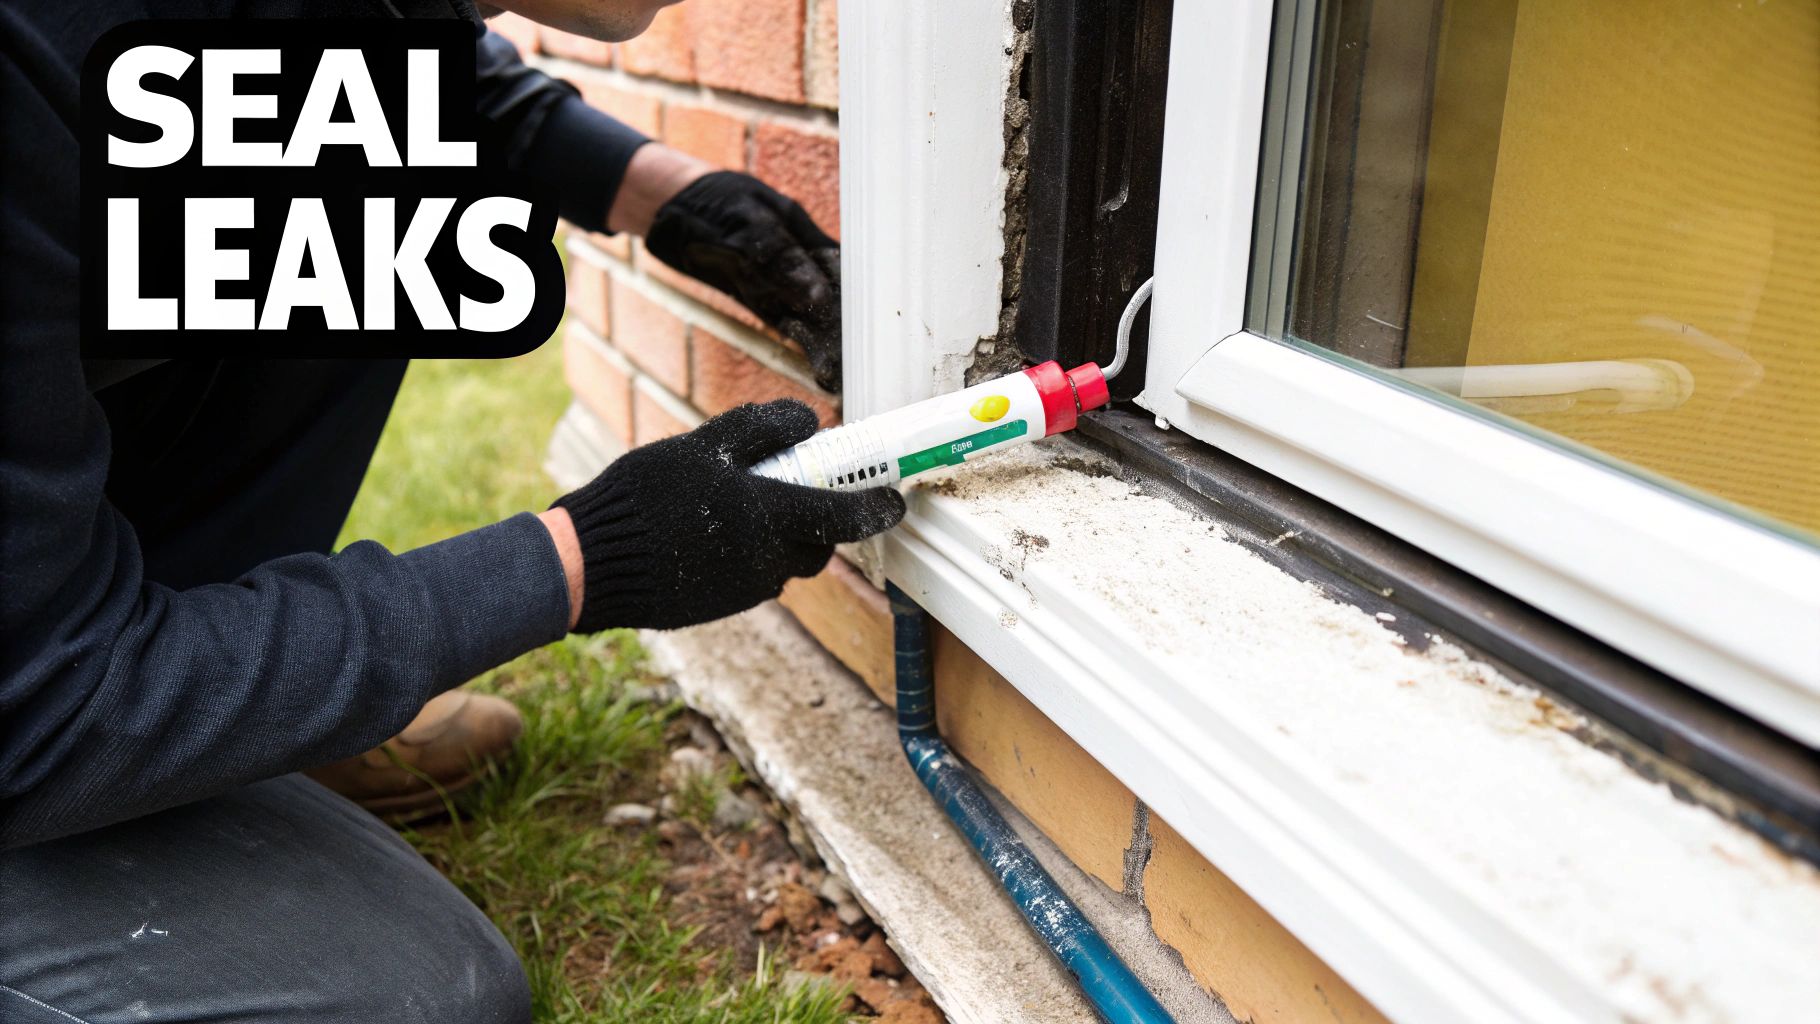
- Seal a Draft, Save a Pipe: Grab a can of expanding foam or a tube of caulk and meticulously seal any gaps or cracks where pipes enter your home. Check under sinks, in the basement, and around any outdoor spigots.
- Insulate, Insulate, Insulate: If the insulation in your basement or crawlspace looks compressed, old, or is just plain missing, upgrading it is a no-brainer. Boosting the ambient temperature by just a few degrees can be all it takes to keep your pipes out of the danger zone.
By layering these strategies—a bit of tech, some smart plumbing work, and fundamental home maintenance—you build a truly resilient system. It's how you ensure your home can stand up to whatever Old Man Winter throws at it, year after year.
A Pre-Vacation Checklist for Your Plumbing
Heading out for a winter vacation is exciting, but it also means leaving your home vulnerable to a deep freeze. A few smart moves before you lock the door can make all the difference, ensuring you come home to a warm, dry house instead of a flooded disaster.
Your biggest decision? What to do with the main water supply. For any trip longer than a weekend, shutting off the main water valve is your safest bet. This one action stops the flow of water into the house, so even if a pipe does freeze and crack, the damage will be minimal.
Your Pre-Departure Plumbing Steps
Simply closing the main valve isn't quite enough. You still have water sitting in the pipes, and that's what can cause the real damage. The next step is to drain the entire system.
Here's how to get it done right:
- Turn off the main water valve. Find it—usually in your basement, crawlspace, or a utility closet—and turn it completely off.
- Open every single faucet. Go through the house and open all the hot and cold taps on sinks, showers, and bathtubs.
- Flush every toilet. Keep flushing until the tanks are empty. This clears out a surprising amount of water.
By getting all that water out, you’ve removed the fuel for a potential pipe burst. It's the most effective way to protect your home while you're gone.
A Critical Thermostat Tip: It's tempting to turn the heat way down or even off to save a few bucks on the utility bill. Don't do it. This is one of the most common mistakes we see. Set your thermostat to at least 55°F (13°C) to keep just enough ambient warmth in the walls to protect your pipes.
One last thing—ask a trusted friend or neighbor to pop in every few days. Even though you've shut the water off, having a second set of eyes checking for drips or odd puddles gives you priceless peace of mind. Leave them the number for a good plumber, just in case, so you can truly relax and enjoy your trip.
Answering Your Top Questions About Frozen Pipes
Even with the best prevention plan, you're bound to have a few questions when a deep freeze is on the horizon. Getting the right answers can be the difference between a calm winter and a costly disaster. Let's walk through some of the things people ask most often so you can feel confident you're ready for whatever the weather throws at you.
What's the Real "Danger Zone" Temperature for Pipes?
We all know water freezes at 32°F (0°C), but that's not the magic number for your plumbing. Your pipes have a bit of a buffer, thanks to the ambient heat from your house. The real trouble starts when the outside air plummets to 20°F (-6.7°C) or below and stays there for several hours. That’s the point where the cold really begins to creep into the unprotected corners of a building.
The first pipes to feel the chill are always the most exposed ones. Think about any plumbing running through:
- Unheated basements and crawl spaces
- Attics and garages
- Exterior walls, especially those with older, less effective insulation
These areas can get dangerously cold long before the rest of your home, putting them at the top of your winter-proofing checklist.
Here's a common mistake I see people make: they assume that because their living room is warm, their pipes are fine. But a pipe running just inside an exterior wall can be exposed to near-freezing temperatures, putting it at risk even when your thermostat is cranked up.
Should I Drip Hot or Cold Water to Prevent a Freeze?
Go with cold water every time. It’s a common instinct to think hot water would be better to combat the cold, but it’s a myth. All you'll accomplish is making your water heater work harder, burning through energy for no good reason. The hot water cools down almost immediately once it's in those frigid pipes anyway.
The whole point of dripping a faucet isn't about adding warmth—it's about keeping the water moving to prevent ice crystals from forming in the first place. A slow, steady drip of cold water does the job perfectly. More importantly, it relieves the immense pressure that builds up between the faucet and a potential ice blockage, which is what actually causes a pipe to burst.
What Should I Do If a Pipe Is Already Frozen?
You’ll know you have a problem if you turn on a tap and get nothing more than a weak trickle of water, or no water at all. First things first: keep that faucet open. As the ice plug starts to melt, that open faucet gives the water somewhere to go and relieves the dangerous pressure building up in the pipe.
Next, you need to gently warm the frozen section of the pipe. Grab a hairdryer on a low setting, a heating pad, or even some towels you've soaked in hot water. Always start warming the pipe closest to the open faucet and slowly work your way back toward the ice blockage. Never, ever use an open flame like a blowtorch. It's a massive fire hazard and you could easily damage the pipe, turning a small problem into a huge one. If you can't find the frozen spot or feel unsafe trying to thaw it, don't hesitate—call a licensed plumber.
For commercial or industrial facilities where a natural gas interruption could lead to system-wide freezing, Blue Gas Express offers emergency mobile natural gas to keep your equipment protected and operational. Find out more about their mobile natural gas solutions.