

When the temperature plummets, a frozen pipe is one of the last things any homeowner wants to deal with. The key to avoiding a catastrophe isn't complicated—it's about insulating the right spots, keeping your home's temperature steady, and even letting a faucet drip when a hard freeze is on the forecast. These small steps are your best defense against the incredible pressure that makes pipes burst.
Why Pipes Freeze and the Real Risks Involved

It’s easy to assume pipes freeze just because it's cold outside. But the real problem isn't the cold itself—it's the massive pressure that builds up inside the pipe. As water turns to ice, it expands. Trapped inside a pipe between a growing ice blockage and a closed faucet, this expansion creates a force that metal and plastic simply can't contain. That’s what causes the burst.
The magic number to watch for is 20°F (-6.7°C). Once the mercury dips this low, the risk of your pipes freezing goes up dramatically. Interestingly, homes in southern climates are often more vulnerable. Why? Because they're typically built without the same level of insulation as northern homes, leaving them completely unprepared for the occasional deep freeze.
Pinpointing Vulnerable Areas in Your Home
Not all pipes face the same level of danger. The ones most likely to freeze are those stuck in the coldest parts of your house with little to no heat to protect them. You’ll want to check on plumbing in these high-risk zones:
- Unheated Spaces: Think basements, crawl spaces, attics, and garages. These areas are classic trouble spots.
- Exterior Walls: Any pipes running along or inside poorly insulated outside walls are prime candidates for freezing.
- Outdoor Fixtures: Hose bibs, sprinkler lines, and pool supply lines are on the front lines, completely exposed to the elements.
The Aftermath of a Burst Pipe
A burst pipe is so much more than a simple plumbing fix. The resulting water damage can be catastrophic, easily running into thousands of dollars for repairs and restoration.
A tiny 1/8-inch crack in a pipe can gush up to 250 gallons of water in a single day. That's enough to cause severe structural damage in almost no time.
Imagine coming home to collapsed ceilings, soaked drywall, and ruined floors. Beyond the structural mess, you're also dealing with the potential for mold growth and serious electrical hazards if water gets near your wiring. It's also a good idea to understand what your homeowners insurance coverage for burst pipes actually includes before you have a problem. Knowing just how high the stakes are makes taking a few preventative steps well worth the effort.
Your First Line of Defense: Pipe Insulation
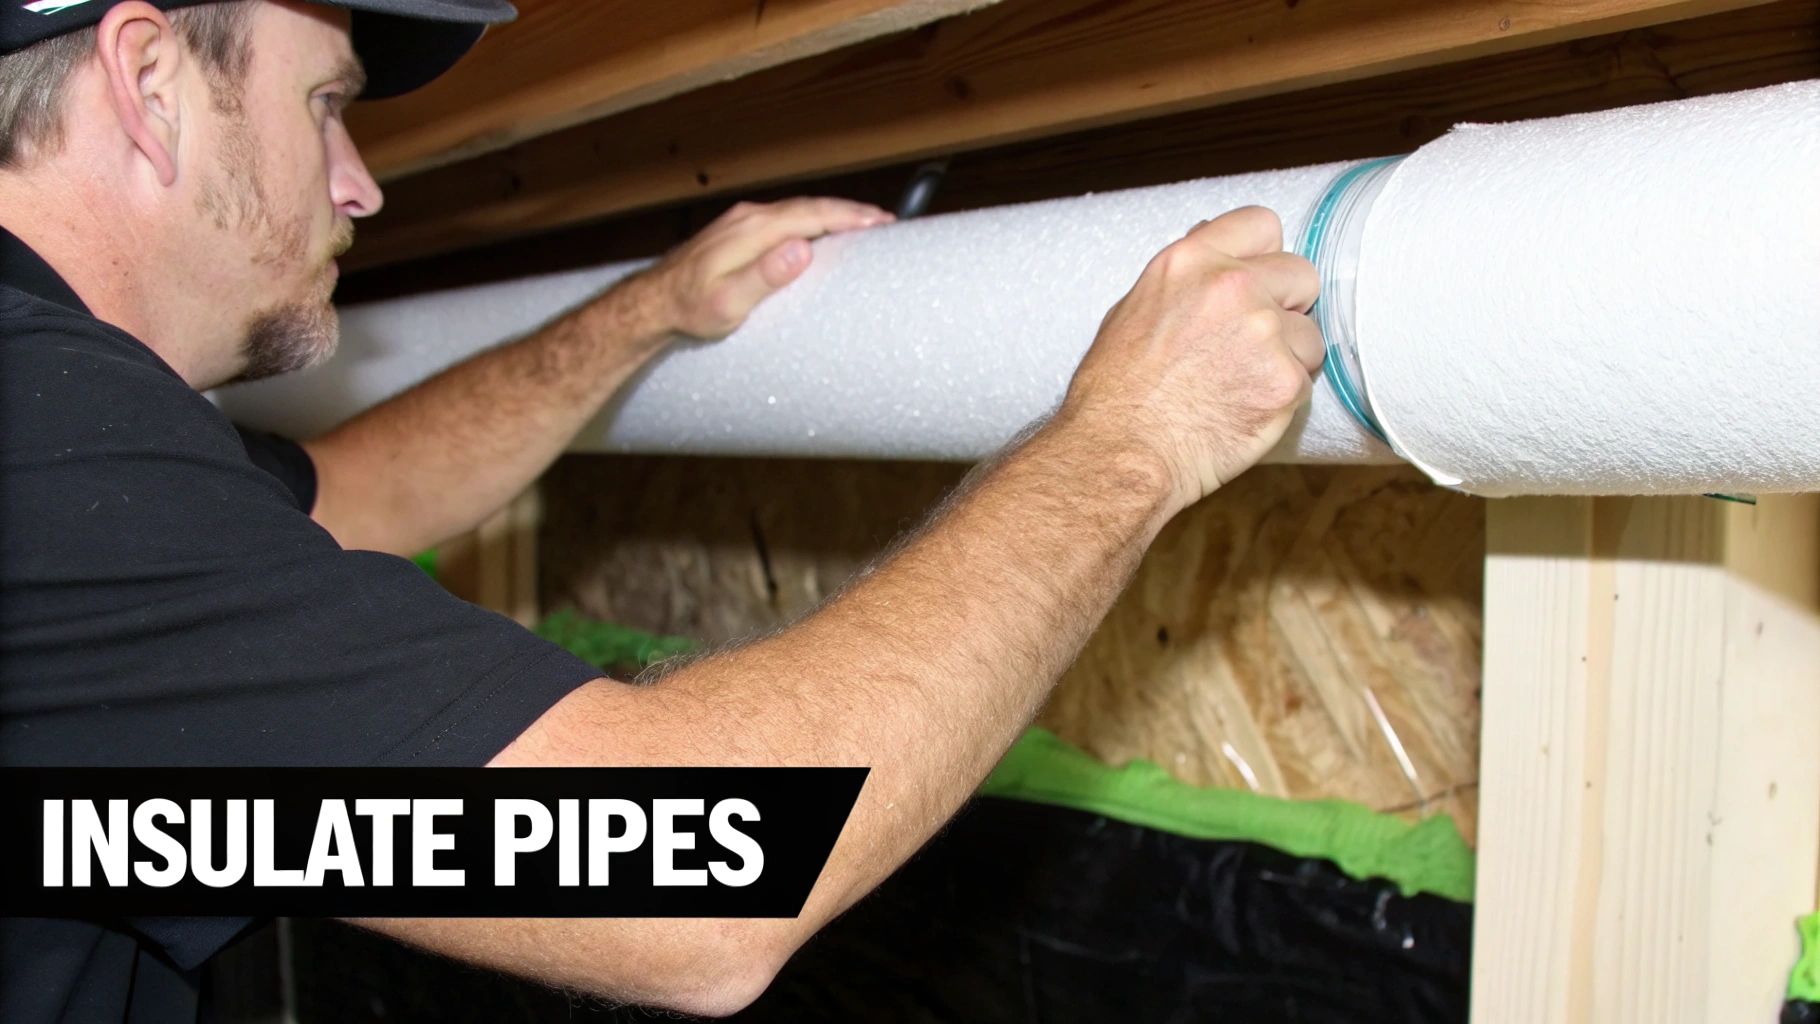
Think of insulation as a thermal blanket for your plumbing. It's hands-down the most straightforward and effective passive measure you can take to prevent frozen pipes in winter, and it works around the clock without you having to do a thing.
Before you buy any materials, you need to know where your home is most vulnerable. Your primary targets are any pipes running through unheated or poorly protected areas where that frigid winter air can really settle in. Take a walk through your crawl spaces, attic, garage, and basement, paying close attention to any pipes located along exterior walls. These are the hot spots (or, rather, cold spots) where your plumbing is most at risk.
Choosing the Right Insulation
Once you've mapped out the high-risk zones, it's time to pick your material. Not all insulation is created equal, and the best choice really comes down to the pipe's location, shape, and your budget.
When you're standing in the aisle at the hardware store, you'll see a few common options. Here’s a quick rundown to help you decide.
Comparing Your Pipe Insulation Options
| Insulation Type | Best For | Pros | Cons |
|---|---|---|---|
| Foam Pipe Sleeves | Long, straight runs of pipe in accessible areas. | Affordable, incredibly easy to install (just slip on and tape), readily available. | Not flexible, can be tricky to fit around tight corners or complex fittings. |
| Fiberglass Pipe Wrap | Pipes with lots of bends, elbows, and fittings. | Highly flexible, provides excellent thermal resistance, can conform to any shape. | Can be itchy to work with (wear gloves!), installation is more time-consuming. |
| Rubber Pipe Insulation | Both hot and cold pipes, areas with potential moisture. | Durable, flexible, offers moisture resistance to prevent condensation. | Generally more expensive than foam or basic fiberglass options. |
No matter which type you go with, the goal is the same: create a consistent, snug barrier between the pipe and the cold air.
Key Takeaway: Remember that insulation only slows down heat loss—it doesn't actually generate any heat. Its entire job is to keep the water inside the pipe from dropping to 32°F for as long as possible.
Don't Just Insulate—Seal the Gaps
Wrapping your pipes is a fantastic start, but it's only half the battle. If icy air is blowing directly onto that insulation, it can still be overwhelmed. This is where a little detective work comes in handy.
The next crucial step is to hunt down and seal any air leaks that allow drafts to reach your plumbing in the first place. Look for small cracks and gaps where pipes, wires, and vents enter your home. The usual suspects are around foundation walls, windows, and sill plates. A simple bead of caulk or a quick shot of expanding spray foam can make a world of difference in blocking that cold.
Sealing these drafts is one of the most effective ways how to prevent frozen pipes in winter because it stops the cold before it even has a chance to reach your plumbing system.
For much larger jobs, like new construction sites, ensuring consistent warmth is critical. In those cases, professionals often turn to mobile gas solutions to provide temporary, reliable heat. This keeps entire zones from freezing, protecting not just the pipes but all the other temperature-sensitive materials on site.
What to Do When the Temperature Plummets
When you see a polar vortex on the forecast, you know your home's insulation is about to be put to the test. Sometimes, those passive defenses just aren't enough. It's time to get proactive.
The classic, go-to move for a reason is to let your faucets drip. Focus on the ones fed by pipes in the most vulnerable spots—think exterior walls, unheated basements, or crawl spaces.
Even a slow, steady drip is surprisingly effective. This tiny stream does two things: it keeps the water moving, which makes it harder to freeze, and it acts as a safety valve. If an ice blockage does start to form, the drip relieves the dangerous pressure buildup that actually causes pipes to burst.
Taking Your Active Defenses to the Next Level
For those of us in truly cold climates or anyone with pipes that seem to freeze no matter what, just dripping the faucet might feel like you’re not doing enough. That’s when it’s time to bring in some bigger guns.
Electric Heat Cables: Think of these as heated blankets for your plumbing. You wrap a special, self-regulating cable along the pipe, tape it down, plug it in, and it generates just enough warmth to keep things flowing. It's a fantastic solution for chronically cold spots.
Mind Your Thermostat: This is non-negotiable. Even if you're heading out of town for the holidays, never, ever set your thermostat below 55°F (13°C). The few dollars you might save on heating are nothing compared to the thousands you’d spend on water damage restoration from a burst pipe.
Open Up Your Cabinets: This one is as simple as it gets. For the plumbing under your kitchen and bathroom sinks, especially if they're on an outside wall, just open the cabinet doors. This allows the warm air from your house to circulate around the pipes, and it costs you nothing.
My rule of thumb during a deep freeze is to always layer your strategies. Combining good insulation with one or two of these active heating methods gives you the best possible shot at getting through the cold snap without a disaster.
For more heavy-duty applications, you can look into professional electric heat tracing and pipe-heating cable systems. These are sophisticated systems that actively warm pipes to maintain flow. The big catch? They almost always rely on electricity, which means they're useless in a winter power outage—exactly when you might need them most.
Getting Your Outdoor Plumbing Ready for Winter
It’s easy to get so wrapped up in protecting the pipes inside your house that you forget about the ones on the outside. But your outdoor plumbing is on the front line, taking the brunt of winter’s assault. A little neglect out there can quickly lead to a big, expensive mess inside.
Let's start with the easiest win: your garden hoses. Go around and disconnect every single one. If you leave a hose attached, water gets trapped in the faucet and the pipe just inside the wall, which is a recipe for a frozen, burst pipe. After you've unhooked them, drain the hoses completely and tuck them away in a shed or garage until spring.
Lock Down Your Faucets and Sprinklers
Once the hoses are gone, turn your attention to the outdoor faucets, also known as hose bibs. Look for the shut-off valve for your exterior water lines, which is usually tucked away in a basement, crawl space, or utility closet. Crank that valve to the "off" position.
With the water supply cut, head back outside and open up all the faucets to let any leftover water drain out. This one simple move gets rid of the water that would otherwise freeze and cause a blockage.
The most vulnerable spot is often the section of pipe just inside your foundation. Cold air travels right through the metal faucet, freezing the water inside the wall where you can't see it. You might not even know it burst until you turn it on in the spring.
For an extra layer of defense, grab some insulated faucet covers. They're just simple foam domes that pop right over the spigot, but they do an excellent job of shielding the metal from biting winds and cold. They cost next to nothing and are a must-have for winter prep.
If you have more complex water systems, the process is a bit more involved, but absolutely critical.
- Sprinkler Systems: You can't just drain these; they need to be professionally "blown out." A high-powered air compressor is used to force every last bit of water out of the underground lines and sprinkler heads. If you skip this, water will freeze, expand, and crack those buried pipes, leaving you with a huge repair bill come spring.
- Pool Plumbing: The same idea applies here. Pool lines have to be drained and sealed for the off-season. This usually means lowering the water level, blowing out the lines to get them completely dry, and then plugging them up tight.
Taking care of these outdoor tasks means your whole property is truly buttoned up. It's the best way to avoid a nasty, water-logged surprise when things finally start to thaw.
An Emergency Guide to Thawing a Frozen Pipe
Even with the best prep work, a sudden, deep freeze can catch you off guard and leave you with a frozen pipe. The first sign is usually subtle—you turn on a faucet and get nothing more than a weak trickle, or maybe no water at all. When this happens, the key is to stay calm. A methodical approach can stop a simple freeze from turning into a catastrophic burst pipe.
Your first move should always be to relieve the pressure building up inside the pipe. Find the faucet connected to the frozen line and turn it to the open position. Even if water isn't flowing, this gives the melting ice and steam an escape route, which is absolutely critical for preventing a burst.
Safely Applying Gentle Heat
With the faucet open, you can start the thawing process. The golden rule here is to apply gentle, even heat. You should never use an open flame like a blowtorch or propane heater. Not only can this damage the pipe itself, but it’s also a massive fire hazard.
Instead, stick with much safer, more controlled methods:
- Hair Dryer: Grab a standard hair dryer, set it to low, and wave it back and forth along the frozen section. Don't hold it in one spot.
- Heating Pad: An electric heating pad is perfect for this. Just wrap it around the pipe for consistent, gentle warmth.
- Warm Towels: Soaking a few towels in hot water and wrapping them around the pipe is another simple but effective trick.
A pro tip: start warming the pipe as close to the open faucet as you can and slowly work your way back toward the blockage. This approach helps ensure that as the ice melts, it has a clear path to drain out.
This infographic lays out the simple steps for prepping outdoor faucets—a common culprit for frozen pipes.
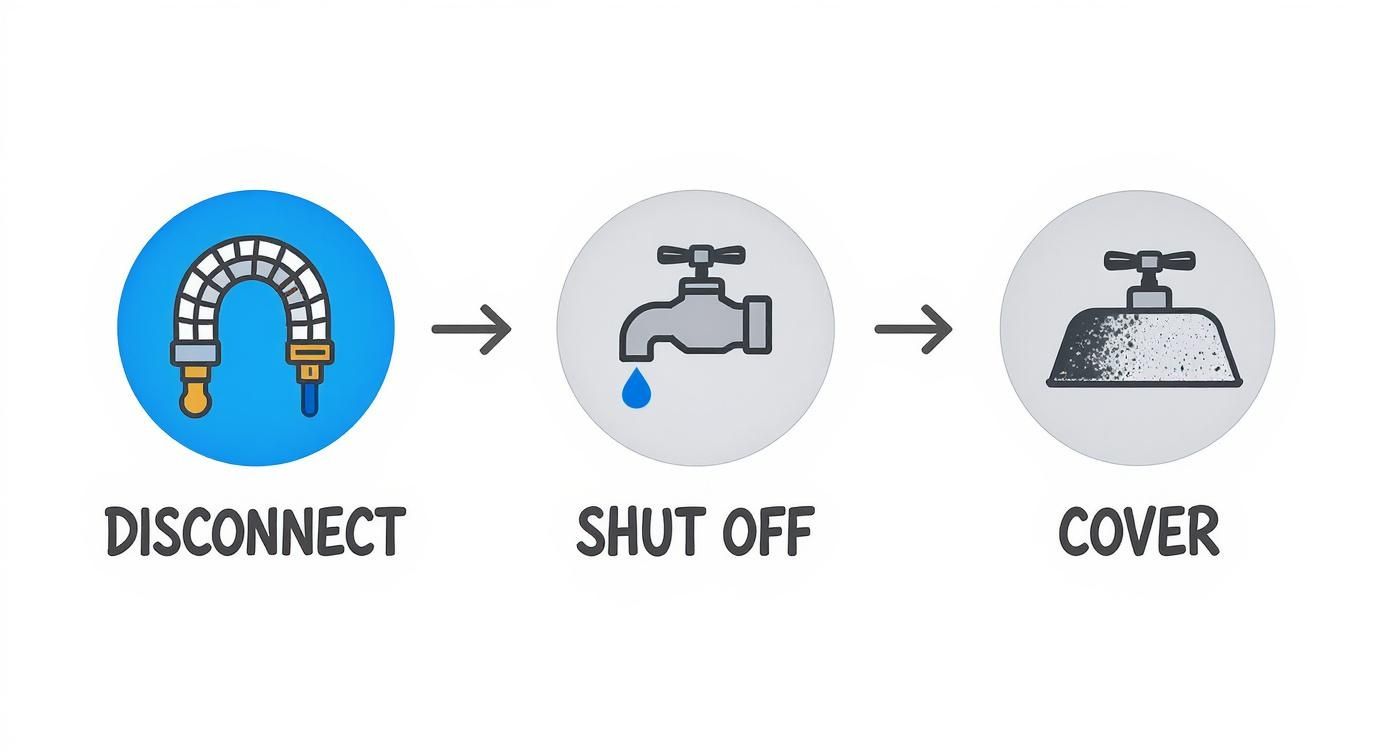
As you can see, a systematic approach of disconnecting, shutting off, and covering is the best way to safeguard this vulnerable part of your plumbing system.
Before you even start trying to thaw anything, make sure you know exactly where your home’s main water shut-off valve is. If the pipe has already burst, you'll need to shut off the water immediately to prevent a flood. Knowing its location in advance is a game-changer in an emergency.
The financial stakes are higher than you might think. In the UK, for example, 6% of residents have dealt with home damage from burst pipes, yet almost a quarter of homeowners don't bother insulating them. The repair bills from a burst pipe can easily run into the thousands. You can read more about these winter plumbing risks.
Remember, patience is your best friend here. It can take a while to safely thaw a pipe, but it's far better than the alternative.
Answering Your Top Questions About Frozen Pipes
Even after you've insulated and prepared, it's natural to have a few nagging questions when a cold snap is on its way. Knowing the answers to these common queries can make all the difference between a calm winter and a burst pipe disaster.
I get asked all the time if letting a faucet drip really does anything. The answer is a definite yes. It’s not just about the old saying that running water doesn’t freeze; it’s about pressure. That slow, steady drip gives expanding ice an escape route, which is crucial for preventing a pipe from rupturing under pressure. It's a simple trick, but it's incredibly effective.
Another thing people wonder about is the exact temperature to start worrying. We often hear 20°F (-6.7°C) as the magic number, but I’ve seen pipes freeze in less severe conditions. If you have pipes in unheated spaces like a garage, crawlspace, or along an exterior wall, they are at risk as soon as the temperature hits 32°F (0°C), especially if there's a biting wind.
Practical Tips for Tricky Situations
Sometimes, even with the best preparations, you run into unique scenarios. Here’s how I’d handle a couple of the most common ones.
Pipes Inside Walls: The main culprits are almost always pipes running along outside walls. The fix is easy: open up the cabinet doors under sinks on those walls. This allows the warmer air from your home to circulate around the plumbing, giving it just enough of a boost to stay above freezing.
Using a Space Heater: A small space heater can be a lifesaver for a drafty cabinet or a cold corner of the basement. Just be smart about it. Make sure it's on a flat, stable surface and kept a safe distance away from anything flammable. Most importantly, never, ever leave it running unattended.
If there's one thing I've learned over the years, it's that you can't wait for the weather forecast to turn grim. A bit of proactive work in the autumn will save you a world of trouble and expense when winter truly hits.
For a deeper dive into this topic, check out this comprehensive guide on how to prevent pipe freezing.
For bigger jobs, like new construction sites where you need to protect plumbing and materials before the central heat is on, temporary heating is a must. Companies like Blue Gas Express provide mobile gas solutions to keep projects on track and prevent costly damage from the cold. You can see what they offer at https://bluegasexpress.com.